How to temper chocolate the easy way
Welcome to our news post from the BF kitchen where you can pick up useful recipes and tips to help wow in the kitchen. Whether you’re an avid home cook or working in a professional kitchen our simple step by step methods will get amazing results. This month we are going to cover how to temper chocolate the easy way.
I thought we would start with tempering chocolate. This takes me back to being a wide eyed pastry chef watching my superior waving large amounts of dark chocolate on a marble slab. This method is called tabling and does require a lot practice and skill. The method I am going to share is the microwave method. Don’t worry it’s not cheating! The advantage of this method is that it’s a quick process.
Tempering Method
This method of tempering chocolate is great for small to medium size jobs in the kitchen such as garnishes, petit fours and dipping truffles. The first myth to squash is the type of chocolate you need to temper. A lot of recipes and chefs may suggest to use high cocoa content. Chocolate is very similar to wine and it all depends what it is being pairing with. For example if you were to make a dark chocolate brownie I wouldn’t use anything higher than 54% cocoa. Dark chocolate with a higher percentage would make it quite bitter. But a hot chocolate on the other hand. 70% dark chocolate would work fine. This is just one of a thousand reasons why we love working with chocolate the limits and applications are endless!
Why Temper Chocolate?
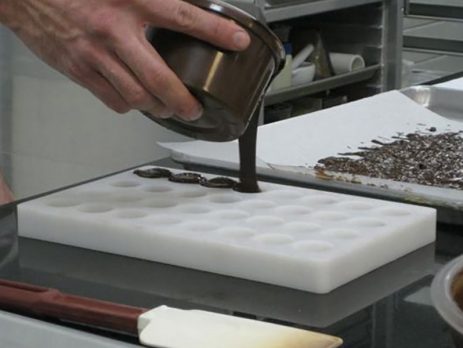
Tempered chocolate is chocolate that has been melted and then cooled in a controlled environment. In order to achieve the correct crystal structure in the finished product.
It is important to temper chocolate because if done correctly will result in a high gloss finish. Other benefits are a good snap and a resistance to heat. If chocolate is not tempered correctly before its used there will be a streaky appearance also known as fat bloom. Along with a dull finish and a crumbly texture.
For this demonstration we are using Ocoa dark chocolate but this method will work just as well with milk and white. In the BF kitchen we work with the following temperatures;
Chocolate Working Temperatures
Milk chocolate 30.2° C
Dark chocolate 31.4° C
White chocolate 30° C
Direct Microwave Method
Step 1
Place the chocolate in a microwave-safe bowl. This is the important bit select the defrost setting on your microwave anything higher than this could burn the chocolate. Warm the chocolate in 10-20 second bursts once it starts to melt stir occasionally but DO NOT melt it all completely. We are looking to melt probably 75% of the total, it is really important to keep some lumps. The temperature should not exceed 35°C.
Step 2
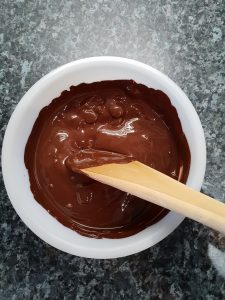
Remove from the microwave and stir until the lumps have melted. The solid chocolate is an important part of the process. This will “seed” the melted chocolate. The solid chocolate is always in temper, therefore the stable crystals in the solid chocolate help to cool and multiply the crystals to form a stable structure.
Step 3
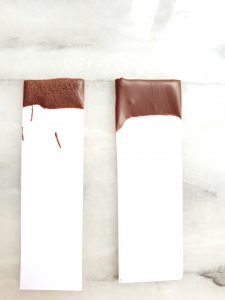
Always be sure to test the chocolate before you use it to make sure the chocolate has the right amount of crystallisation. We use an infrared thermometer alternatively simply dip a piece of paper into the chocolate. Let it sit. If it is tempered correctly it will set evenly within two minutes.
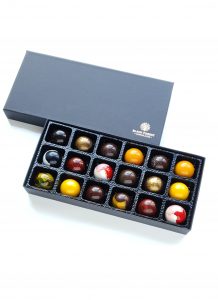
Now that you have achieved the tempering process you can go on to make wonderful creations such as bars, truffles, bonbons and so much more. Get creative!